Physical Address
304 North Cardinal St.
Dorchester Center, MA 02124
Physical Address
304 North Cardinal St.
Dorchester Center, MA 02124
As someone living in a rural area, you probably face some unique challenges when it comes to securing your property. Here’s a table that breaks down the most common issues you might encounter:
| Challenge | Why It’s a Problem |
|---|---|
| Isolation | You’re far from neighbors, so it’s unlikely anyone will notice if something suspicious happens. |
| Large Property Size | Your home might sit on acres of land, making it tough to monitor every corner effectively. |
| Limited Power Supply | Electricity isn’t always reliable in rural areas, which makes it hard to power traditional security systems. |
| Poor Internet Connectivity | Internet can be spotty or non-existent, limiting the types of security systems you can use. |
| Weather and Harsh Conditions | Rural areas often experience severe weather, which can damage regular security equipment. |

Now, let’s talk about how you can solve these challenges with some smart and easy-to-install security solutions. I’ll share some tips as if we’re sitting down together, just chatting about what might work best for your place.
Since you’re a bit out of the way, long-range wireless cameras could be a lifesaver. These cameras are great because they can keep an eye on distant parts of your property without needing to be close to the house.
| Security Solution | Details |
|---|---|
| Camera Kit | Reolink Argus PT or similar long-range wireless camera. |
| Screws and Wall Plugs | Usually included in the camera kit. |
| Drill | Needed if you’re mounting on a hard surface like brick or concrete. |
| Mounting Bracket | Comes with the camera, used to secure it to a wall, tree, or pole. |
| Phillips Screwdriver | For attaching the camera to the mounting bracket. |
My Recommendation:
Reolink Argus PT is perfect for rural areas. It’s easy to install, doesn’t need Wi-Fi, and gives you a clear view of what’s happening, even far from the house.
| Step | Description |
|---|---|
| 1. Pick Your Spot | Find a high, strategic location with a clear view of the area you want to monitor. |
| 2. Drill Holes | Drill holes for the mounting bracket if needed, especially on hard surfaces. |
| 3. Secure the Bracket | Use screws and wall plugs to attach the bracket securely to the chosen spot. |
| 4. Attach the Camera | Mount the camera onto the bracket and tighten the screws with a screwdriver. |
| 5. Power On the Camera | Insert batteries or connect the camera to a solar panel if it’s solar-powered. |
| 6. Adjust the Camera Angle | Tilt and pan the camera to cover the area you need to monitor. |


Covering a large property might sound tricky, but it’s as simple as placing different sensors or cameras around, just like you’d put light bulbs in different rooms. You don’t need to cover every inch—just focus on key areas like driveways, entry points, and barns.
My Recommendation:
Using SimpliSafe Motion Sensors around the perimeter works wonders. They’re battery-powered and easy to install, so you won’t need to hire anyone to set them up. They’ll alert you if anyone gets too close.
Here’s How to Do It:
| Identify Key Areas | Walk around your property and note the spots that need monitoring. |
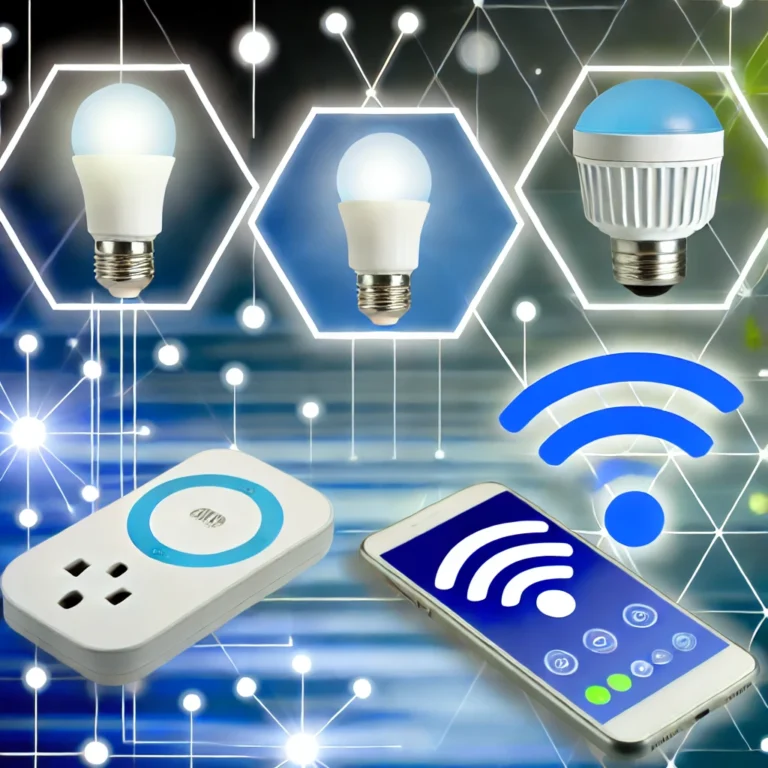
| Place Your Devices | Install cameras or motion sensors in these spots. It’s as easy as screwing in a light bulb—just secure them and make sure they’re facing the right direction. |
| Test and Adjust | Once everything is set up, walk around to see if the sensors pick up movement where you want them to. Adjust if necessary. |
If power outages are a concern, solar-powered cameras can keep things running smoothly. These cameras use the sun to stay powered, so you don’t have to worry about your security going down when the power does.
| Item Needed | Details |
|---|---|
| Motion Sensor Kit | SimpliSafe Motion Sensors or similar. |
| Screws or Adhesive Strips | Depending on the sensor model, you may need screws or adhesive strips. |
| Phillips Screwdriver | Required if using screws for mounting. |
My Recommendation:
Check out the Arlo Go 2. It’s completely wire-free and can be paired with a solar panel. Perfect for keeping watch over areas where power lines don’t reach.
| Step | Description |
|---|---|
| 1. Identify Key Areas | Determine the key spots on your property where you need motion detection, such as driveways or entry points. |
| 2. Prepare Mounting Surface | If using adhesive strips, ensure the surface is clean and dry. If using screws, drill holes as needed. |
| 3. Attach the Motion Sensor | Mount the sensor using screws or adhesive strips, ensuring it’s securely attached. |
| 4. Test the Sensor | Walk in front of the sensor to ensure it detects movement as expected. |
| 5. Adjust if Necessary | If the sensor isn’t covering the desired area, adjust its position until it does. |
When the internet is unreliable, consider security systems that work with cellular networks. This way, you’re not dependent on Wi-Fi to keep things secure.
My Recommendation:
The Reolink Go PT is another great option here. It’s similar to the Reolink Argus PT, but specifically designed for use with cellular data instead of Wi-Fi.
| Item Needed | Details |
|---|---|
| Cellular Camera Kit | Reolink Go PT or similar cellular camera. |
| SIM Card | Check compatibility with your camera before purchase. |
| Mounting Bracket | Comes with the camera, used for mounting. |
| Screws and Wall Plugs | Typically included with the camera. |
| Drill | Required if mounting on a hard surface. |
| Phillips Screwdriver | For securing the camera to the bracket. |
| Step | Description |
|---|---|
| 1. Insert SIM Card | Follow the camera’s instructions to insert the SIM card correctly. |
| 2. Choose a Location | Select a spot with good cellular reception for optimal performance. |
| 3. Drill Holes | If needed, drill holes for the mounting bracket. |
| 4. Attach the Bracket | Secure the mounting bracket with screws and wall plugs. |
| 5. Mount the Camera | Attach the camera to the bracket and secure it in place. |
| 6. Connect to Cellular Network | Power on the camera and follow the setup instructions to connect it to the cellular network. |
| 7. Adjust the Camera Angle | Position the camera to cover the desired area effectively. |
Rural properties often face tough weather, so you need equipment that’s like a sturdy pair of boots—able to withstand anything nature throws at it. Installing weatherproof gear is as simple as putting on those boots before stepping outside.
My Recommendation:
All the products I’ve suggested—Reolink Argus PT, Arlo Go 2, and SimpliSafe Sensors—are designed to handle rough weather. Just install them as you would normally, and they’ll keep working no matter what the weather’s like.
| Item Needed | Details |
|---|---|
| Weatherproof Camera Kit | Choose a durable outdoor camera designed for harsh conditions. |
| Screws and Wall Plugs | Usually included with the camera. |
| Drill | Needed for mounting on hard surfaces. |
| Mounting Bracket | Comes with the camera for secure installation. |
| Phillips Screwdriver | Required for securing the camera to the bracket. |
| Step | Description |
|---|---|
| 1. Select a Location | Choose a spot that’s somewhat sheltered but still provides a good view, like under an eave or on a sturdy pole. |
| 2. Drill Holes | If necessary, drill holes for the mounting bracket. |
| 3. Attach the Bracket | Secure the bracket with screws and wall plugs to ensure it can withstand strong winds and weather. |
| 4. Mount the Camera | Attach the camera to the bracket and tighten all connections to keep out moisture. |
| 5. Test the Camera | Make sure the camera functions properly in various weather conditions, such as rain or snow. |
Installing your own smart security system on a rural property is a lot like changing a light bulb—you just need the right tools and a little bit of guidance. With this step-by-step guide, you can confidently secure your property with minimal effort. Each solution is designed to be easy, even for beginners, so you can protect your home and land with ease. If you ever run into trouble, just think back to this guide—it’s as simple as screwing in a new bulb!